
Operation and ownership
How to Maintain a Water Heater
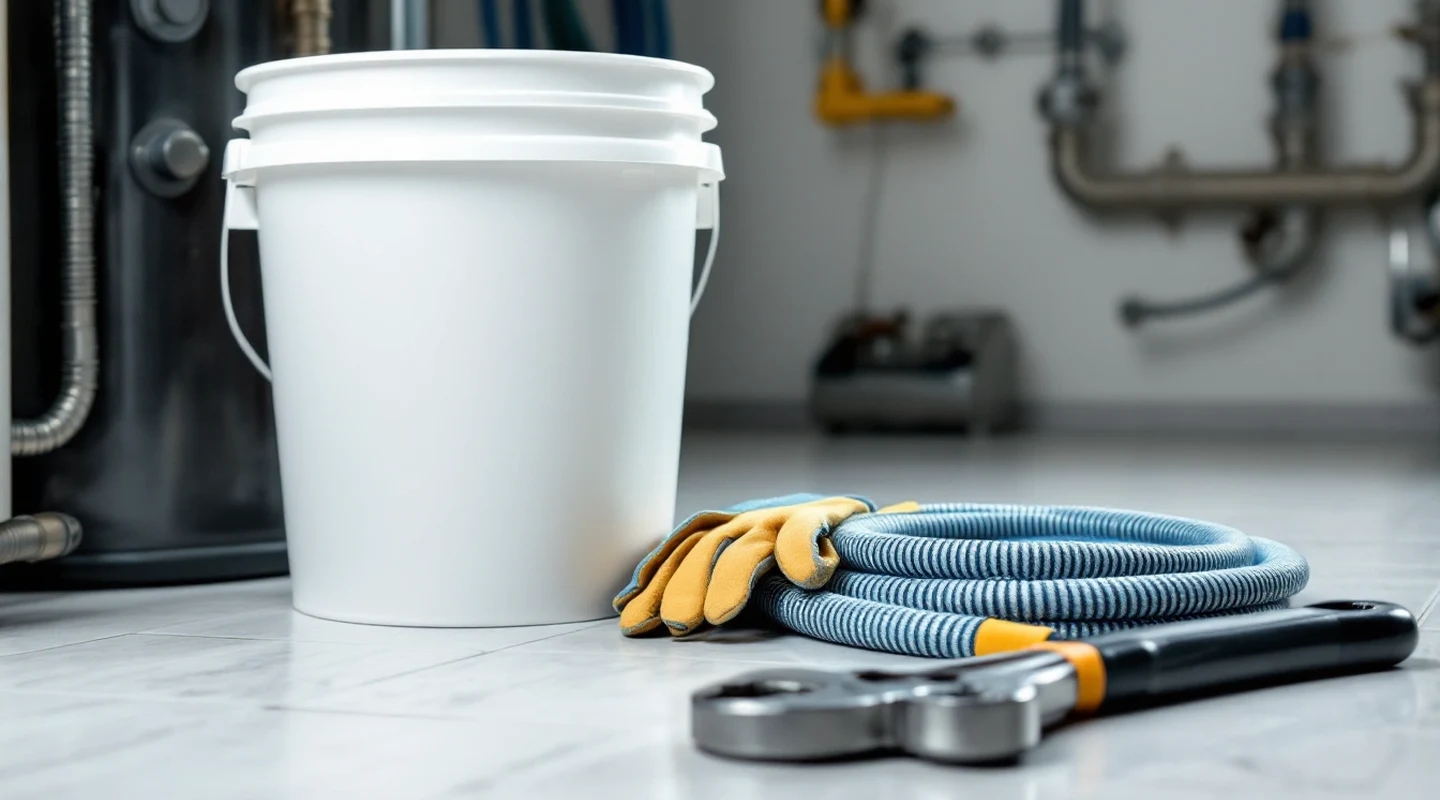
Learn how to maintain a water heater with six tank care tasks and the service steps that differ for tankless models.
Sections12
- Safety first: shut off heat and release pressure
- 1. Test the temperature and pressure relief valve
- 2. Check and replace the anode rod
- 3. Drain and flush sediment
- 4. Set and measure the temperature
- 5. Insulate exposed pipes
- 6. Insulate an older tank only when allowed
- Tankless heaters: what changes
- Yearly water heater checklist
- When replacement makes more sense
- Frequently asked questions
- Water heater maintenance verdict
Tank care limits rust and sediment, keeps pressure safe and cuts heat loss. Six tasks cover it; tankless heaters change some of them, as the last section explains.
- Test the relief valve.
- Inspect the anode rod.
- Drain and flush sediment.
- Measure the hot water temperature.
- Insulate exposed pipes.
- Check whether the tank needs insulation.
Test the valve with a full tank. Drain only after shutting off heat and cooling the water. Keep the heater off if the valve fails or a fitting leaks.
Safety first: shut off heat and release pressure
Find the manual for your model. Gather a garden hose rated for hot water, a bucket, gloves, eye protection, a thermometer and, for the anode job, the socket size your manual gives.
Before every task, shut off the electric breaker, or turn the gas control off and close the manual gas valve. Do not disconnect gas lines. If you smell gas, leave and call the supplier from outside.
The valve test (task 1) needs a full tank with the cold inlet open. Before the anode and drain jobs (tasks 2 and 3), let the water cool, close the cold inlet and open a hot tap to release pressure. Keep heat off until the tank is full again.
1. Test the temperature and pressure relief valve
Test the temperature and pressure relief valve (T&P or TPR) at least yearly under the A. O. Smith guide, July 2024, page 31.
- Shut off heat and let the water cool. Keep the tank full and the cold inlet open. Inspect the valve and discharge pipe for damage or blockage.
- Check the safe discharge route. Put a bucket below the pipe end if needed, without blocking it. Keep everyone clear.
- Lift the lever to open the valve, then let it close. Water should flow freely from the discharge pipe while the valve is open and stop when it closes (A. O. Smith, page 31).
- Leave heat off if flow fails or the lever sticks. Call a plumber for replacement if the valve fails to open or close. Never plug a leak.
- Empty the bucket, remove water from the drain pan and wipe the heater dry. Restore heat only after a successful test with no leaks.
The discharge pipe must be full-size pipe with no shutoff valve, reducer or plug, ending no more than six inches above a floor drain or outside the building and separate from the drain pan (A. O. Smith, page 19). Keep the end clear and visible, and use an indoor drain in freezing climates. Local adopted rules still govern the installation.
Dripping between tests usually means high water pressure or no thermal expansion tank, per page 31. Have a plumber check the cause.
2. Check and replace the anode rod
Anodes corrode to protect the tank. For one A. O. Smith gas model, page 30 calls for checks at six months, then yearly or more often with softened water. Its rod takes a 1-1/16-inch socket; check your model's size.
- Shut off heat, cool the water, close the cold inlet and open a hot tap to release pressure.
- Remove the access cap. If foam insulation covers the rod head, cut it away with a keyhole saw; it does not need replacing. A rod built into the hot outlet nipple needs a pipe wrench instead.
- Seat the socket fully. Unscrew and lift out the rod without twisting pipes or rocking the tank. Get help if stuck.
- Compare with page 30, figures 49–50: new rods are smooth and thick, partly worn rods rough, and depleted rods lack outer metal. Replace substantially worn or depleted rods.
- Refit a sound rod or an approved replacement. Wrap the threads with thread sealant tape or approved pipe compound and reinstall it tightly.
- Open the inlet. Run a hot tap until air clears; close it and check for leaks before restoring heat. For a drained tank, use the refill steps below.
Bradford White's anode bulletin, updated July 19, 2024, explains that magnesium is more reactive; aluminium may suit water that consumes magnesium quickly. Use the heater's approved material.
3. Drain and flush sediment
For one A. O. Smith gas model, pages 29–30 of the guide call for a first flush after six months, then at least yearly as needed. Check your model for other intervals.
- Shut off heat as above and let the water cool.
- Connect a hose to the lower drain valve. Secure its end at a drain or permitted outdoor point. If you drain into buckets, close the valve before each one fills.
- Close the cold inlet. Open the drain valve and keep a hot tap open to help the tank empty.
- If the drain valve is blocked, call a plumber. Do not remove the valve while the tank is full.
- Once empty, open the cold inlet with the drain still open. If a lot of sediment came out, keep flushing until the water runs clear, then close the drain.
- Leave the cold inlet open to refill. Run a hot tap fully open for at least three minutes, until air is gone and the tank is full. Close the tap.
- Check for leaks. Remove the hose, then restore power or follow the gas relighting steps. Never heat an empty tank.
DOE's 2022 Energy Saver guide, printed pages 18–19 suggests a quart drain every three months, subject to the heater's directions:
- Shut off heat and cool the water. Attach a drain hose ending in a bucket marked at one quart.
- With the tank full and cold inlet open, slowly open the drain. Collect one quart, then close the valve.
- Check for leaks, remove the hose and empty the bucket. Restore heat with the tank full. This small drain does not replace flushing.
4. Set and measure the temperature
DOE's 2022 Energy Saver guide gives 120°F for most households. Measure the actual tap temperature.
- After heating, measure at a hot tap with a thermometer. Keep skin clear.
- Set the gas control toward 120°F. For electric tanks, shut off the breaker before opening panels. Adjust both thermostats if fitted; use the model's settings.
- Replace electric insulation and covers before restoring power. Let the tank heat fully, then measure again. Record the setting and tap reading.
The CDC home water guidance, March 15, 2024, says 130–140°F can kill Legionella but raises burn risk. Above 120°F, CDC advises mixing valves at taps to reduce burns. Discuss both risks with a healthcare provider for anyone at higher risk of Legionella illness.
5. Insulate exposed pipes
The DOE-backed pipe insulation guide, updated September 18, 2025, covers foam sleeves and fiberglass or mineral wool wrap.
- Measure exposed pipe lengths and diameters. Choose sleeves that match the pipe width and temperature rating.
- Keep insulation at least six inches from a gas heater's flue. For pipes six to eight inches away, the guide recommends fiberglass or mineral wool wrap. Follow larger clearances on the vent or heater label.
- Cut sleeves and fit with seams down. Close seams and tape joints. Secure every one to two feet. Overlap and fasten wrap as shown.
- Check for gaps and leave valves and service points reachable. Wear gloves, goggles and a dust mask when handling bare fiberglass.
6. Insulate an older tank only when allowed
Use the DOE insulation guide, October 2011, water-heater section and the model's blanket limits.
- Check whether a blanket is needed: the guide flags tanks made before 2004, insulation below R-24, or a tank warm to the touch. If the manual bans blankets, skip it.
- Choose a fitted water-heater jacket or cut a blanket to size. Secure it with its supplied belts and tape.
- For gas or oil heaters, do not insulate below the drain valve or put anything underneath. Never insulate the top of a gas heater.
- Cut insulation away from the relief valve, thermostat, gas valve, pilot light and burner. Keep it secure so it cannot slip over them. Leave labels visible.
- For electric heaters, leave the thermostat access panels uncovered. Do not set the thermostat above 130°F once insulated; DOE warns that wires can overheat.
- Check access and clearances again. DOE suggests a qualified contractor for gas or oil tanks.
Tankless heaters: what changes
For a tankless water heater, the six tasks change. Examples use Navien's NPE-2 installation manual, January 2026 and undated User's Information Manual.
- Relief valve: Check the fitted pressure relief valve and clear discharge route; use that valve's test instructions.
- Anode: The NPE-2 parts list has no sacrificial tank anode; check other models, especially those with a small tank.
- Sediment: Descale the heat exchanger. Page 15 lists no routine flush at 0–4 grains/gallon hardness; above 4, yearly residential flushing is recommended if treatment is absent. Check its treatment requirements too. Clean inlet screens after flushing; no separate calendar interval is given. Clean the air screen every 3–4 months.
- Temperature: Use front-panel buttons, with taps closed and pumps stopped. NPE-2 defaults to 120°F. Verify at a tap.
- Pipe insulation: Still applies to exposed hot pipes; keep vent and service clearances.
- Tank insulation: A tankless heater stores no hot water, so it has no standby loss to blanket (DOE-backed PNNL research, January 2013).
For condensate, Navien's January 2026 manual, pages 38–40, gives a separate drain and trap. Check neutralizer media every few months in year one; replace as depleted. Include any pump. Use the tankless maintenance guide and tankless flushing guide for the service plan.
Yearly water heater checklist
| Task | Record and next action |
|---|---|
| Inspect for leaks | Location, corrosion and any repair needed |
| Test relief valve | Test date; free flow followed by full closure |
| Inspect tank anode | Wear, approved replacement and next check |
| Drain and flush tank | Sediment found; add shorter checks if required |
| Measure hot water | Tap temperature; setpoint; mixing valve condition |
| Inspect insulation | Secure seams, clear controls and gas clearances |
| Service tankless parts | Screen cleaning; descaling; condensate care; next service |
Scroll for more →
When replacement makes more sense
A leaking tank shell needs replacement; an anode can't repair a hole. First distinguish a shell leak from a loose fitting or relief discharge. Repeated faults, severe corrosion and costly repairs also warrant a replacement decision.
Read the tankless lifespan guide when comparing options. If switching to tankless, use the sizing calculator to check simultaneous flow and winter temperature rise before choosing capacity.
Frequently asked questions
How often should I flush a water heater?
Flush at six months, then at least yearly as needed for one A. O. Smith gas model (page 29). Check your model's manual for its interval.
Can I flush an old heater that has never been drained?
Yes, but go slowly. Years of sediment can clog the drain valve. If the tank will not drain, A. O. Smith (page 29) says to have a qualified person deal with it rather than force or remove the valve. Once it drains, flush yearly from then on.
Does clear drain water mean the anode is good?
No. Drain water says nothing about the rod. Only pulling the rod and comparing it with the wear pictures in your manual (A. O. Smith, figures 49–50) shows how much is left.
Should the relief valve drip all the time?
No. Dripping usually means high pressure or no thermal expansion tank (page 31). Have a plumber check it; use your manual's fault guidance. Never plug the pipe.
Can I turn the heater on while it refills?
No. Fill and purge first: page 29 requires a hot tap running full for at least three minutes. Check for leaks, then follow your manual's startup steps.
Water heater maintenance verdict
To maintain a water heater, test the relief valve, inspect the anode, flush sediment, measure temperature, insulate exposed pipes and check whether the tank needs a blanket. Record the next service date. For tankless, track screen cleaning separately from descaling. Include condensate care.